I bought a pack of Polaroid Impossible project to experiment with on a large format (8×10) camera. I used the Schneider Kreuznach G-Claron f9/305mm lens for taking this picture. The film was a 2019 stock, to be specific C008. The subject is a BMW R51/3 from 1953.
Shooting Polaroid 8×10 is a delicate process. For future reference, I created this manual/tutorial mostly for myself to go back to if I shoot it again, as there are many steps involved, and you don’t want to make mistakes with photo’s that cost 18 euro each.
Keep in mind that the environment/subject you are shooting needs to be as contrast free as possible, as Polaroid does not like too much contrast. The dynamic range is limited to around 3 stops. For reading the light I used the great and free Lux app on the iPhone. When metering, meter the whole scene if you want an even exposure across the image, if you would measure the light on say the chrome of the motorcycle, the blacks and shadows would not have any detail in the picture.
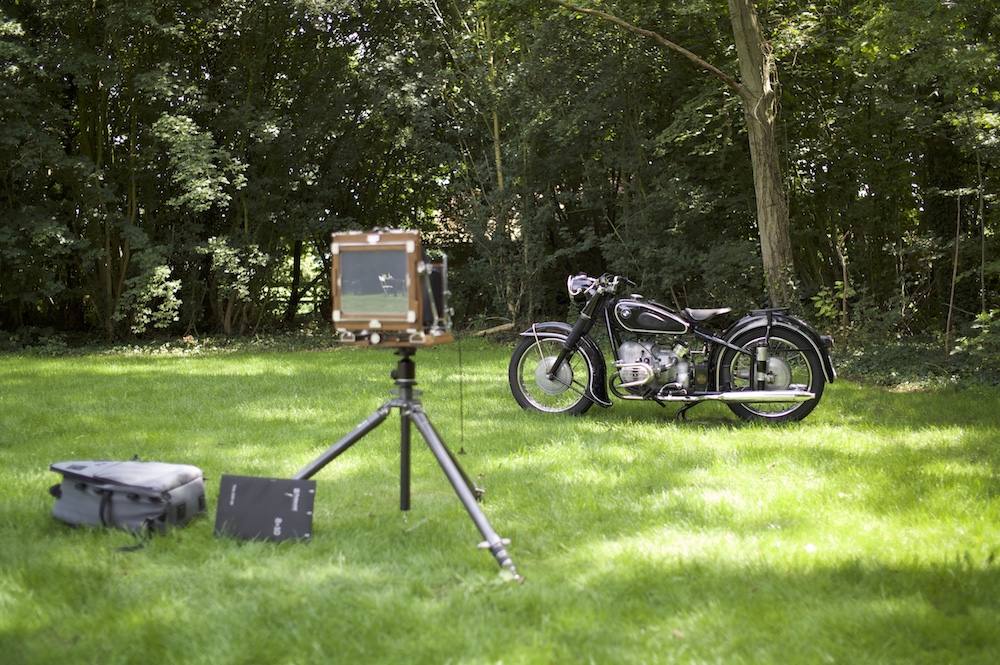
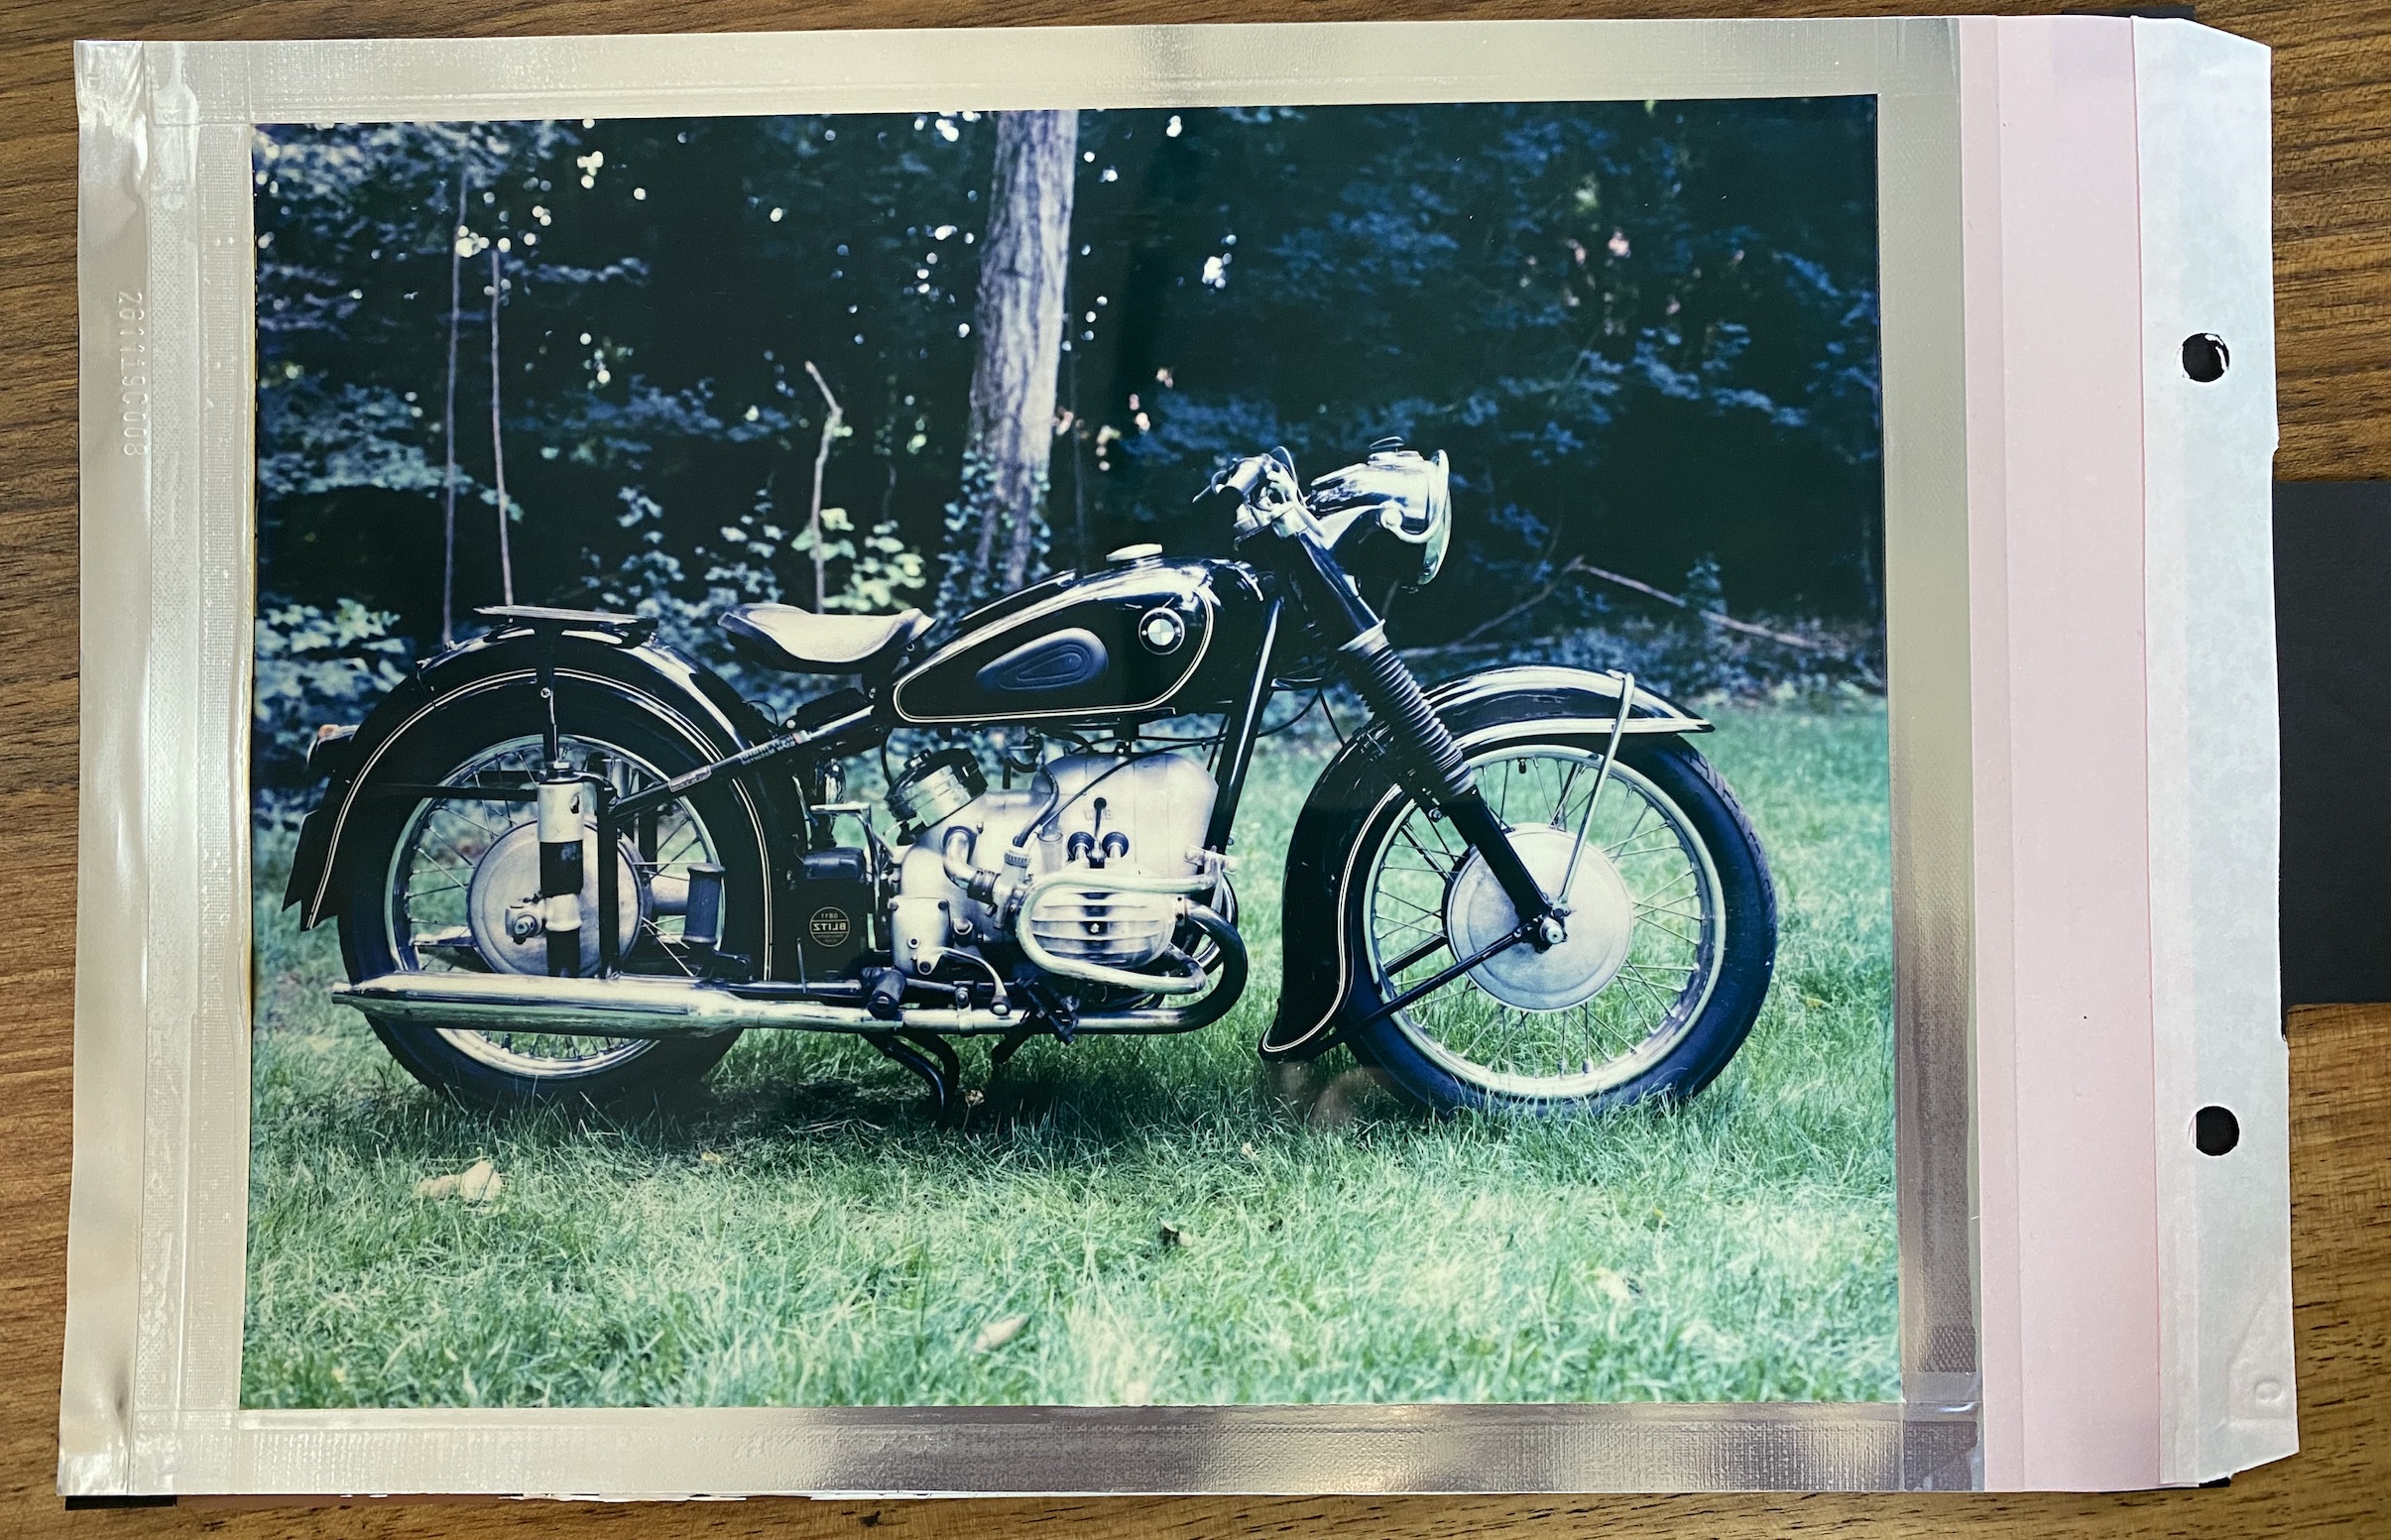
Prerequisites to taking a Polaroid 8×10 photo:
- Make sure your film is out of the fridge at least 1 hour before making the picture
- Polaroid film must be at correct temperature (advisable 17-23c)
- Have a box of alcohol wipes ready
- Ensure scene has not too much contrast
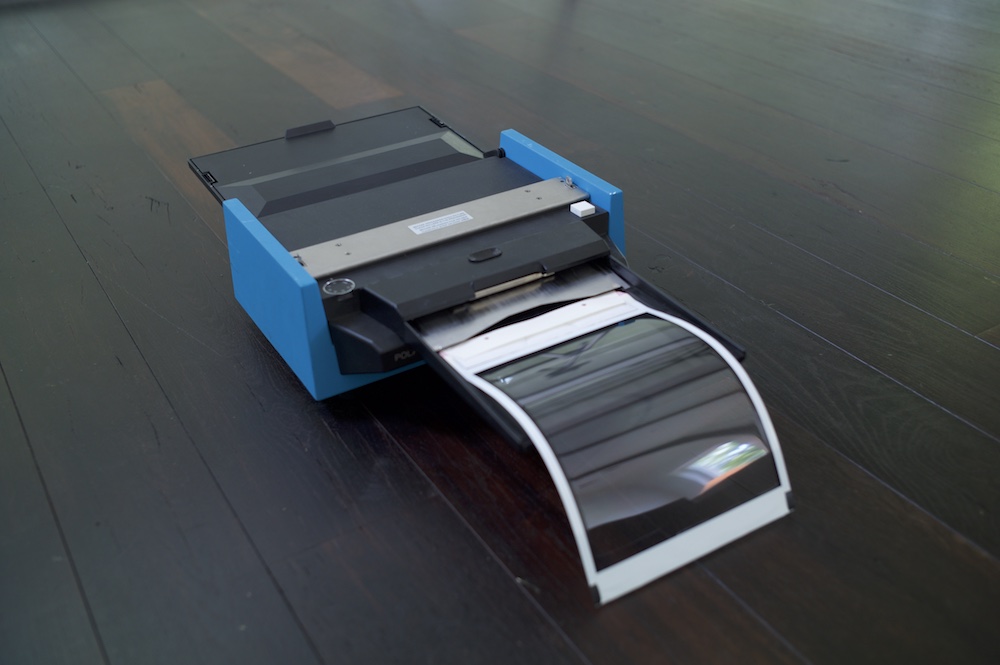
- Setup the Polaroid processor in advance
- Make sure the rollers of your processor are clean!
- Have your light-meter ready
- This tutorial assumes using a 81-06 film holder
1. Set up the subject to photograph
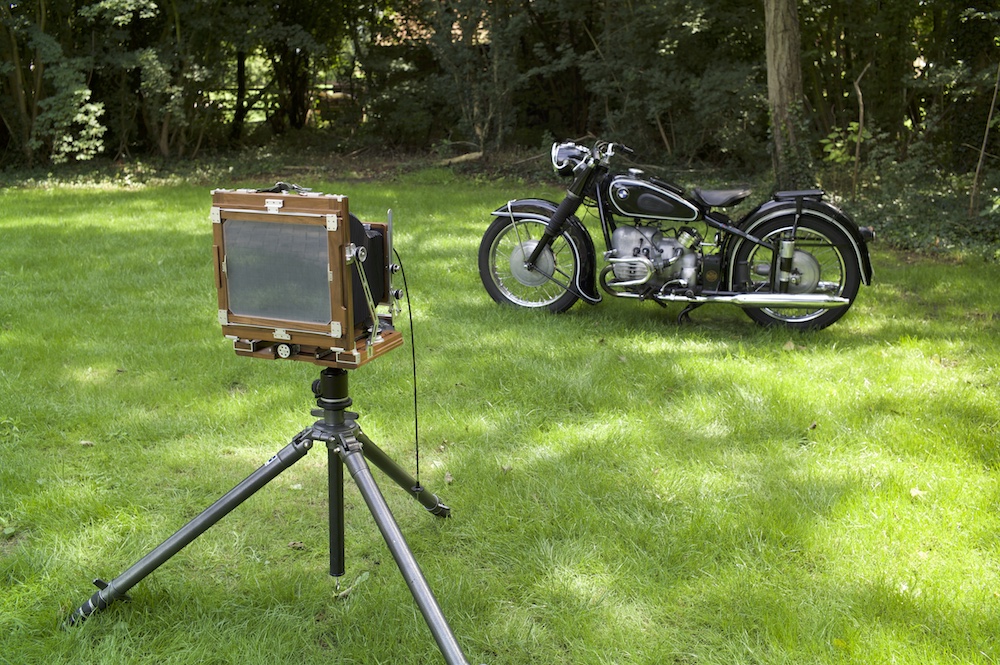
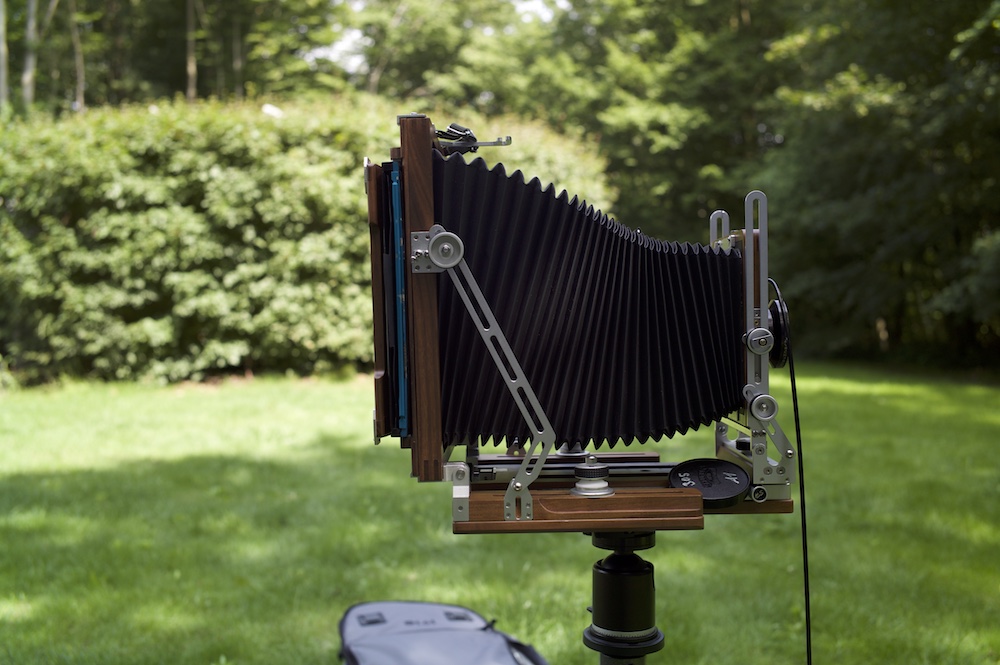
2. Set up the camera
- Do a light reading – keep in mind, Polaroid 8×10 is iso640 and allows for only +/- 1/3 of a stop, so pick a not so contrasty scene
- Setup the camera how you normally do
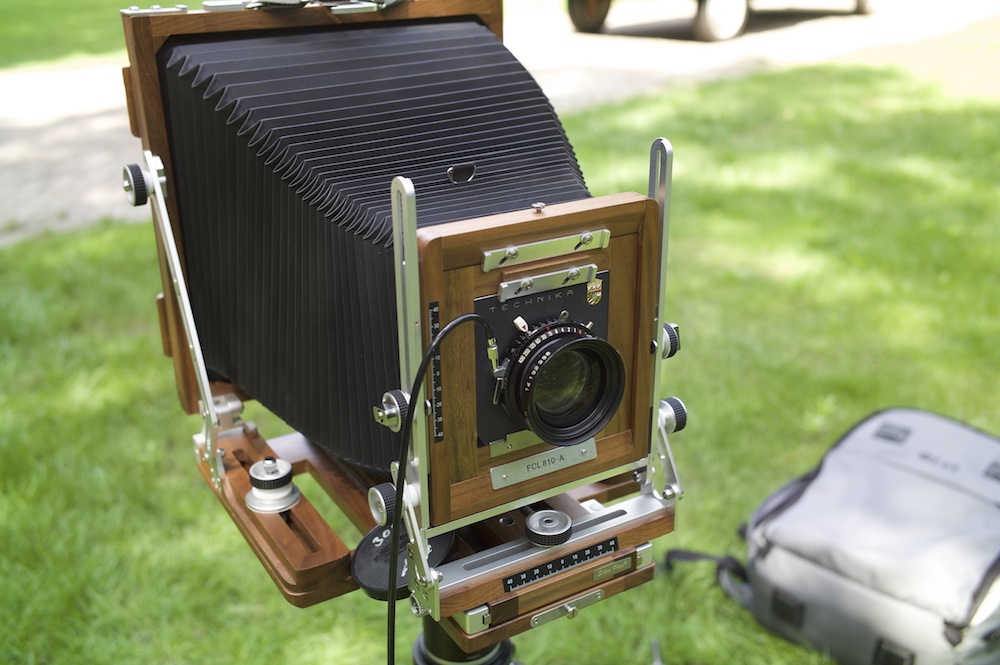
3. Setting up the film
- Ensure your film holder is clean and free from dust (alcohol wipes)
- Ensure your film holder has the dark slide inserted correctly (blue line facing away from the lens)
- Open up your film box, and take 1 envelop with a negative from the pack of sheets
- Open the film holder
- Put the negative envelope in the part that has the red lip
- Lay film envelop on the opened Polaroid holder as per picture
- Ensure that the red tab engages with the film envelop and breaks the seal
- Close the film holder
- You now have a prepared film hold with a Polaroid negative in it
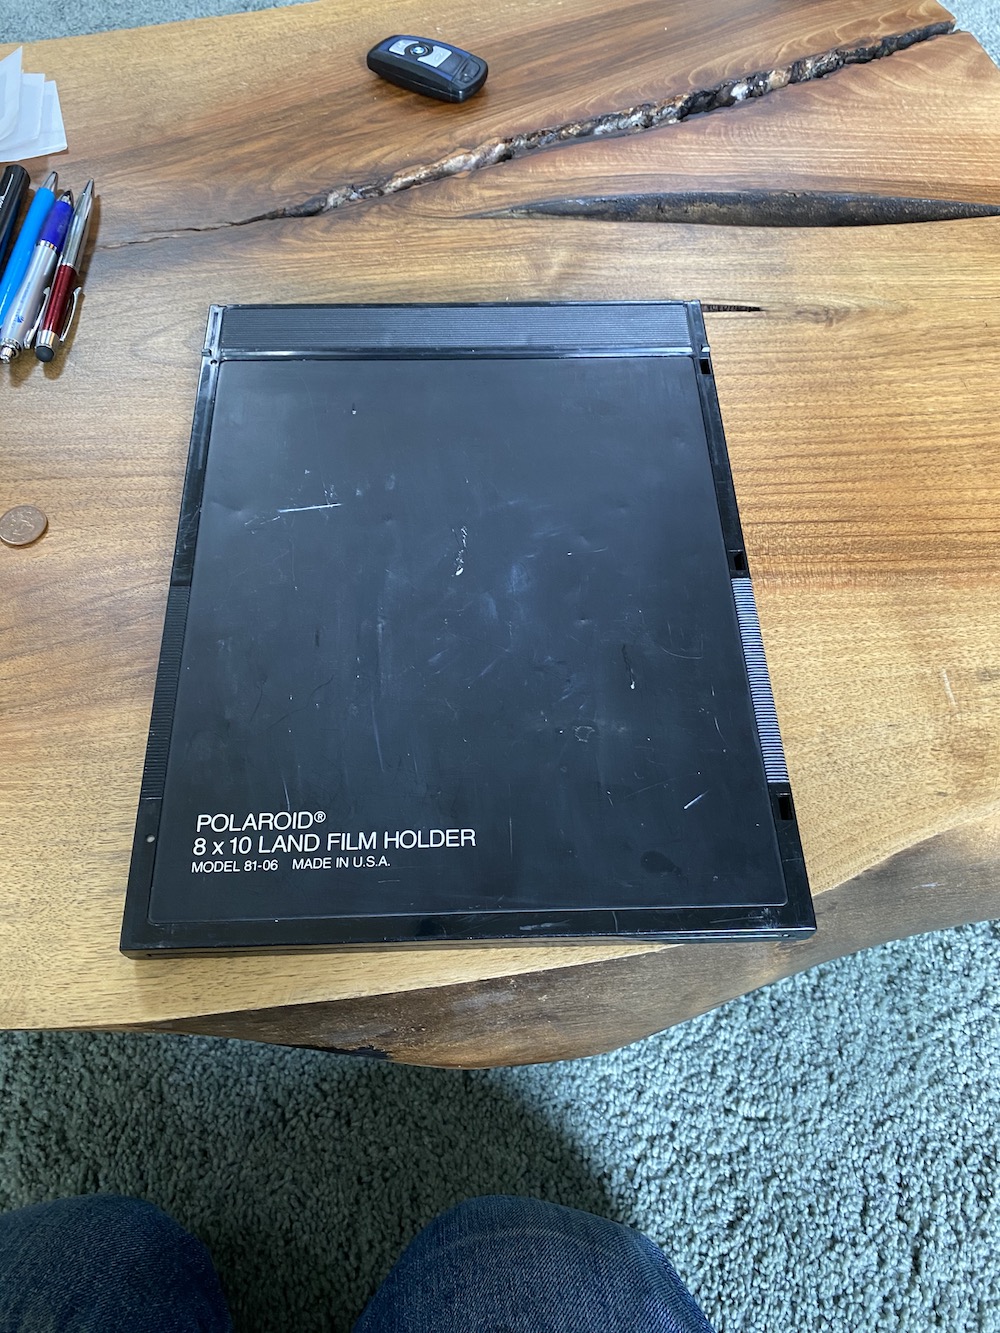
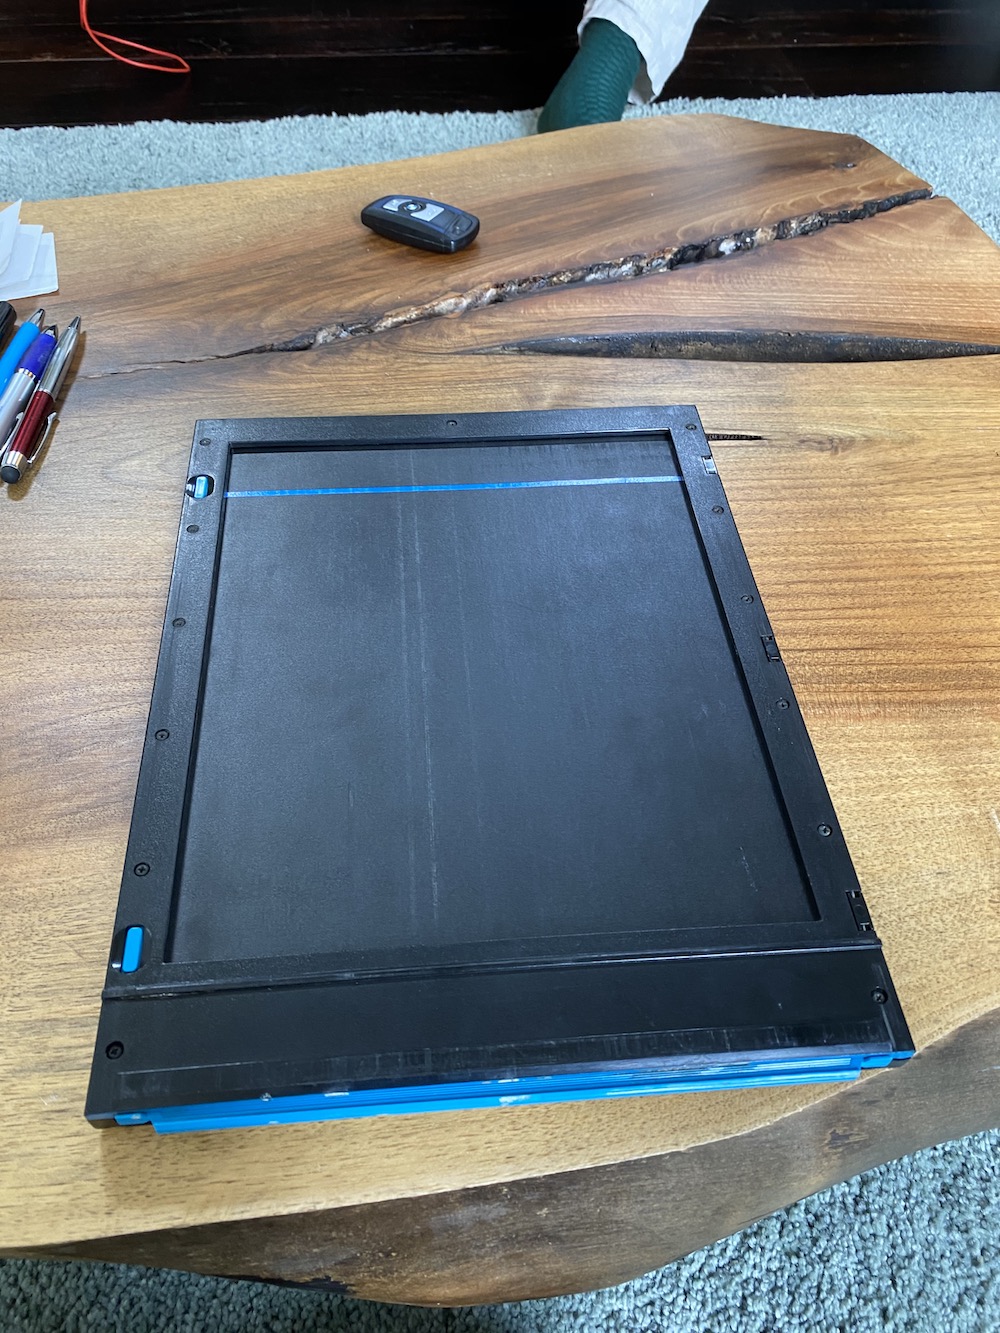
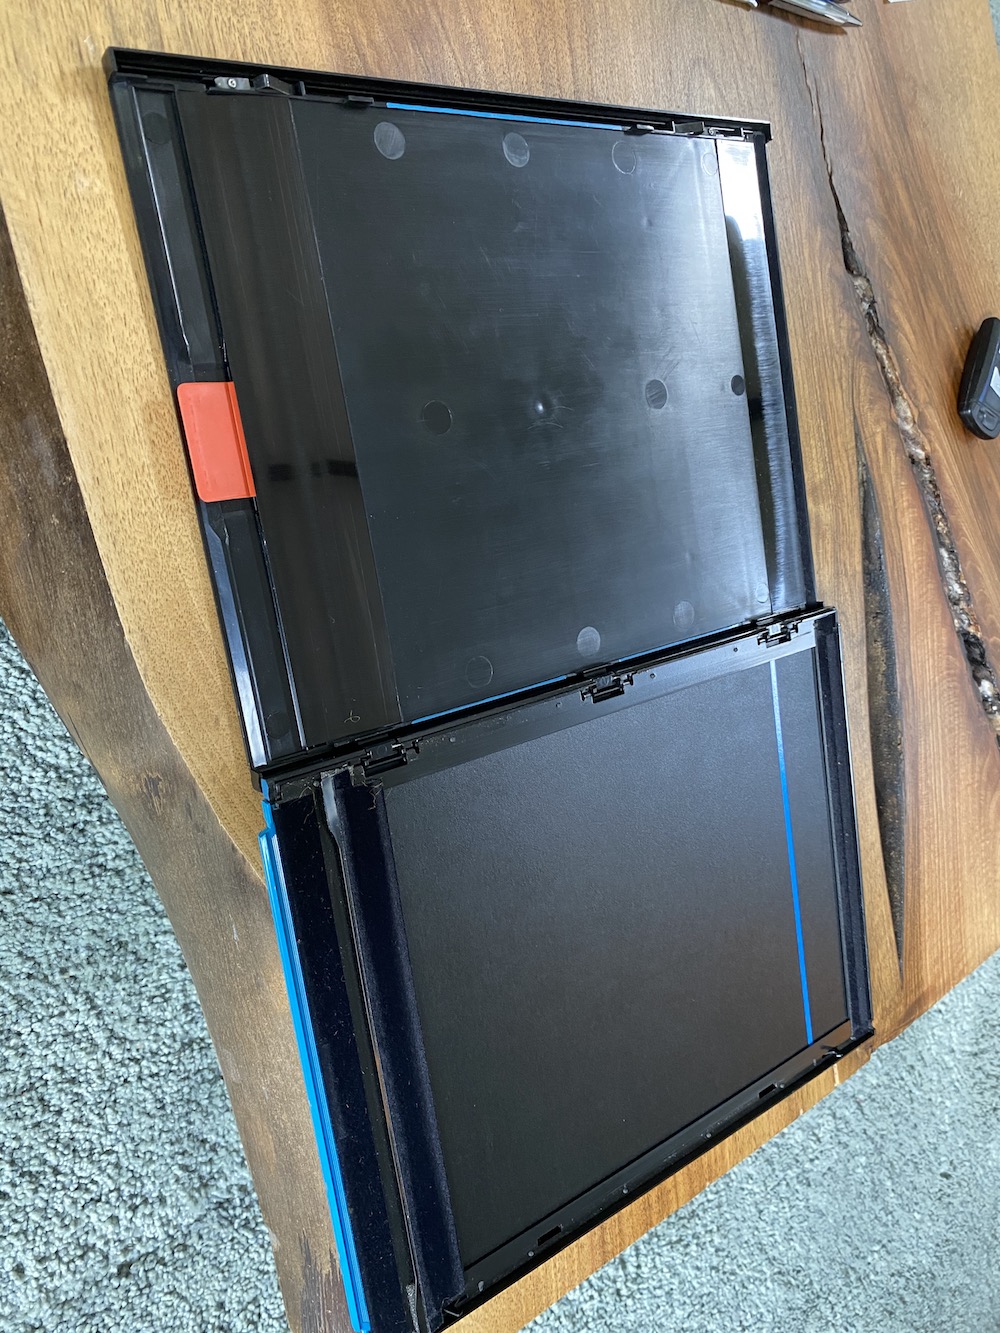
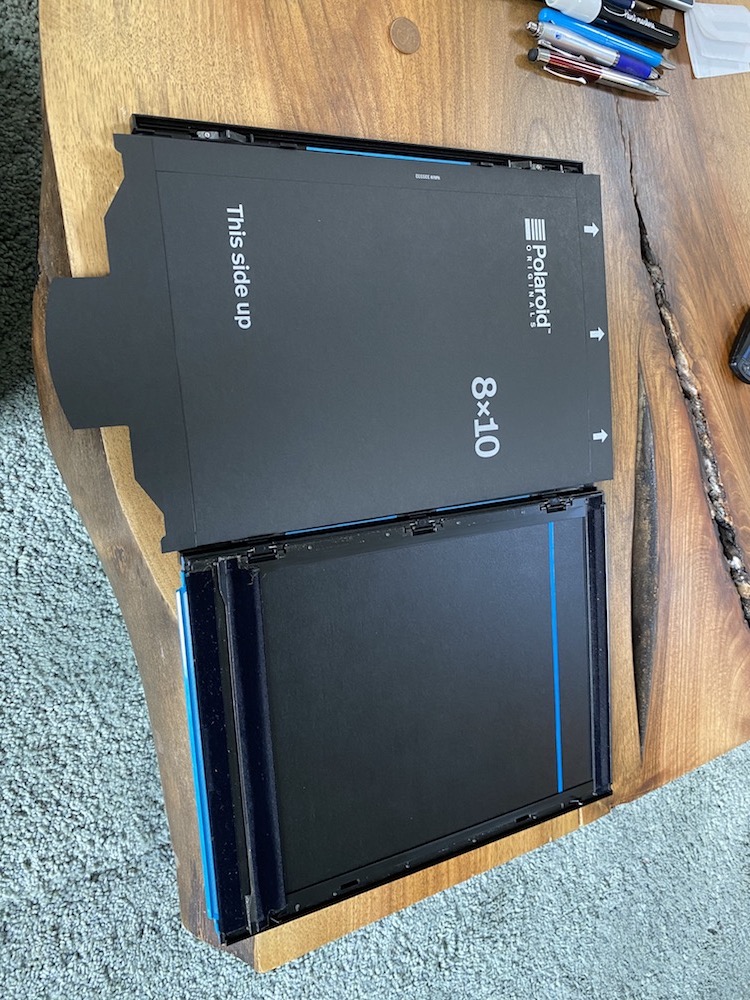
4. Taking the picture
- Remove the envelope holding the negative while the envelope is in the holder, needs 2 hands
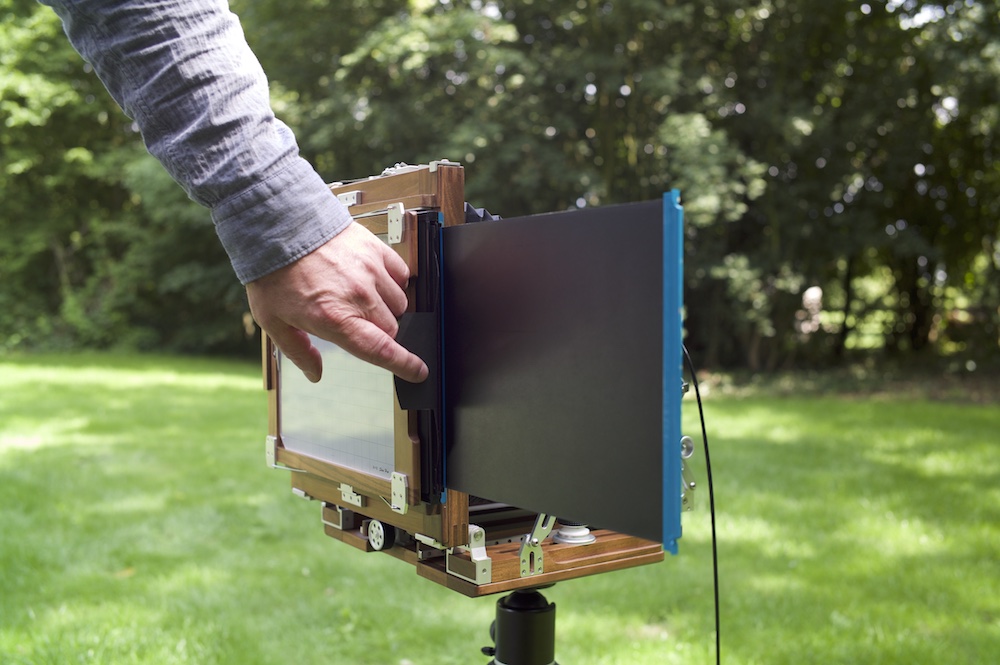
- Insert the film holder in the camera
- Double check your camera settings (lens closed, aperture & shutter speed set correctly)
- Do a final check of firing the shutter
- Cock the shutter
- Slide out the dark slide until the blue line becomes visible
- Do not fully remove the dark slide
- Take the picture
- Slide back in the dark slide
- Take the film holder from the camera
- You are done taking the picture
5. Processing the picture
- Take a positive sheet out of the Polaroid box while making sure you don’t touch the transparent part
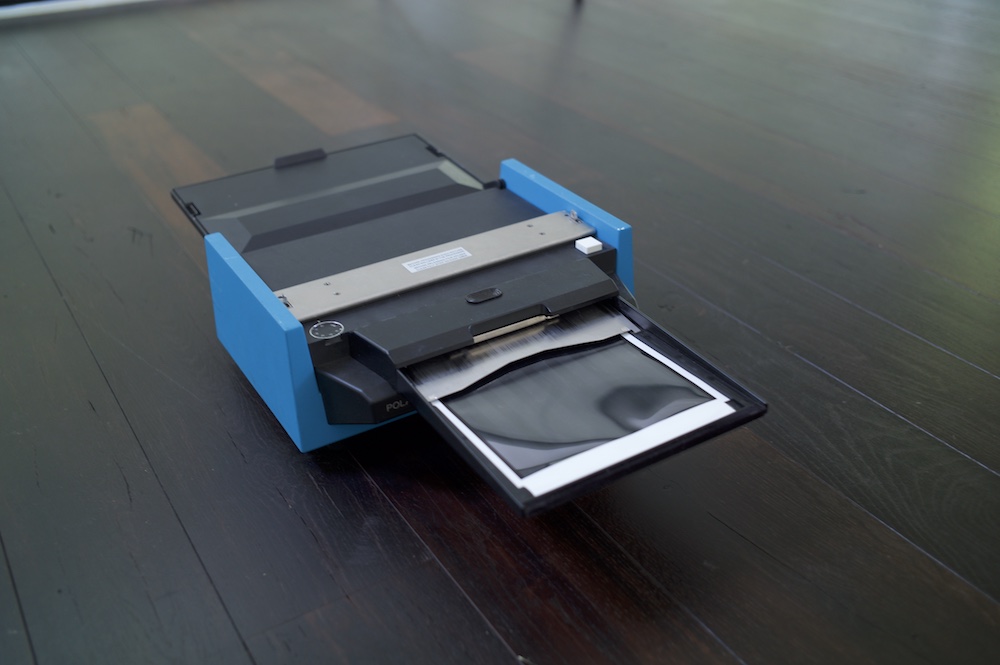
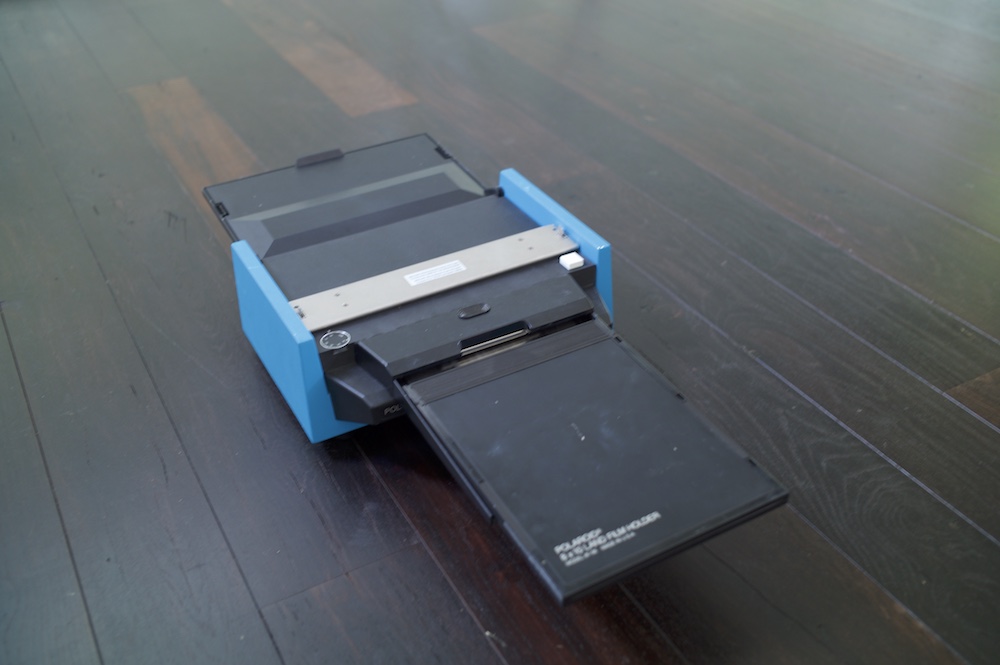
- Put the positive sheet in the processor, with the chemical packs going in first and facing up under the metal part(see picture). White framing is facing up, silver framing is facing down
- Make sure the sheet is properly seated
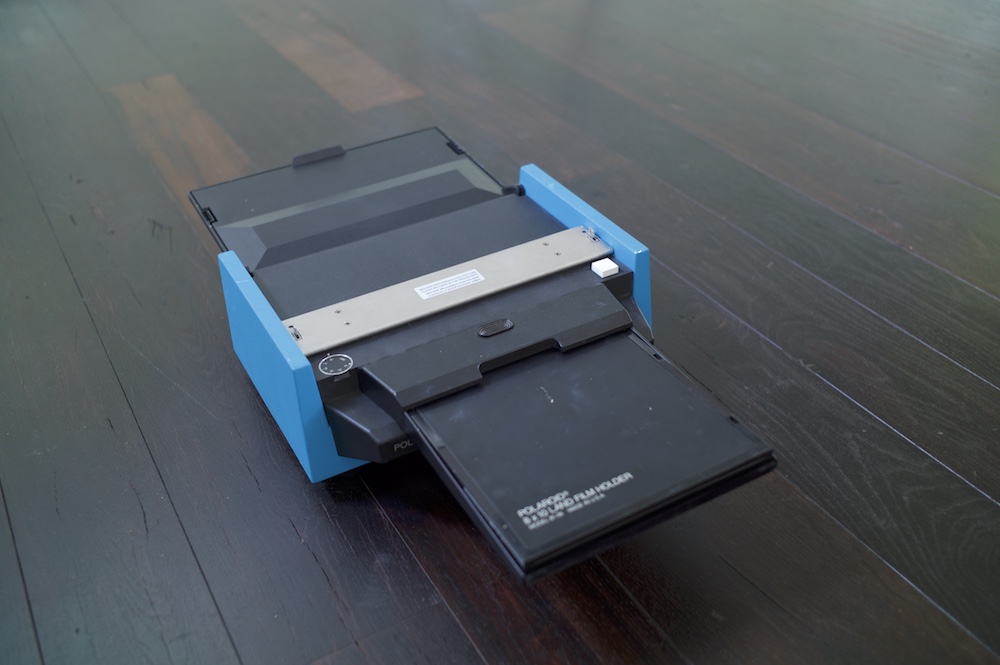
- Insert the film holder on top of this, and slide it in, having the “Polaroid 8×10 film holder” text facing up
- Make sure the film holder is properly seated
- Double check if the rollers are properly clean and locked in place
- Make sure the tray where the combined positive & negative sheet end up is closed
- Press the white button
- Wait 15 minutes for the film to develop
- You now have a Polaroid 8×10 image
